Torque Transfer Physics: How Cordless Drills Multiply Power
By Diego Castillo • 11th Dec
Ever stare at your cordless drill driver and wonder how that compact tool transforms a tiny battery into enough force to sink lag bolts? Understanding torque transfer physics is your secret weapon against beginner frustration and costly gear mismatches. As a weekend drilling instructor, I see students paralyzed by marketing claims like "1,400 inch-pounds!" only to strip screws minutes later because they didn't grasp how their drill actually multiplies power. Let's demystify this in plain language so you can pick (and use) tools that match your real-world projects.
Why Torque and Speed Play Opposites
Torque isn't just "muscle power": it is rotational force, measured in Newton-meters (N·m) or inch-pounds. But here's the critical insight: torque and speed share an inverse relationship. Crank up the RPMs, and available torque drops. Think of it like riding a bike uphill in high gear (it's faster but leaves you struggling). Low gear (slow speed) gives brute force for climbing. Drills work the same way. Your cordless drill driver's two-speed gearbox flips between these modes:
- Low speed (0-450 RPM): High torque for driving screws or drilling hardwood
- High speed (0-1,500+ RPM): Low torque for clean holes in softwood or metal
This isn't arbitrary. It is physics. When you select low speed, the drill's gear ratio shifts to multiply torque. Let's unpack that. If you're new to spec sheets, our torque vs RPM guide breaks down how these numbers translate to real drilling power.
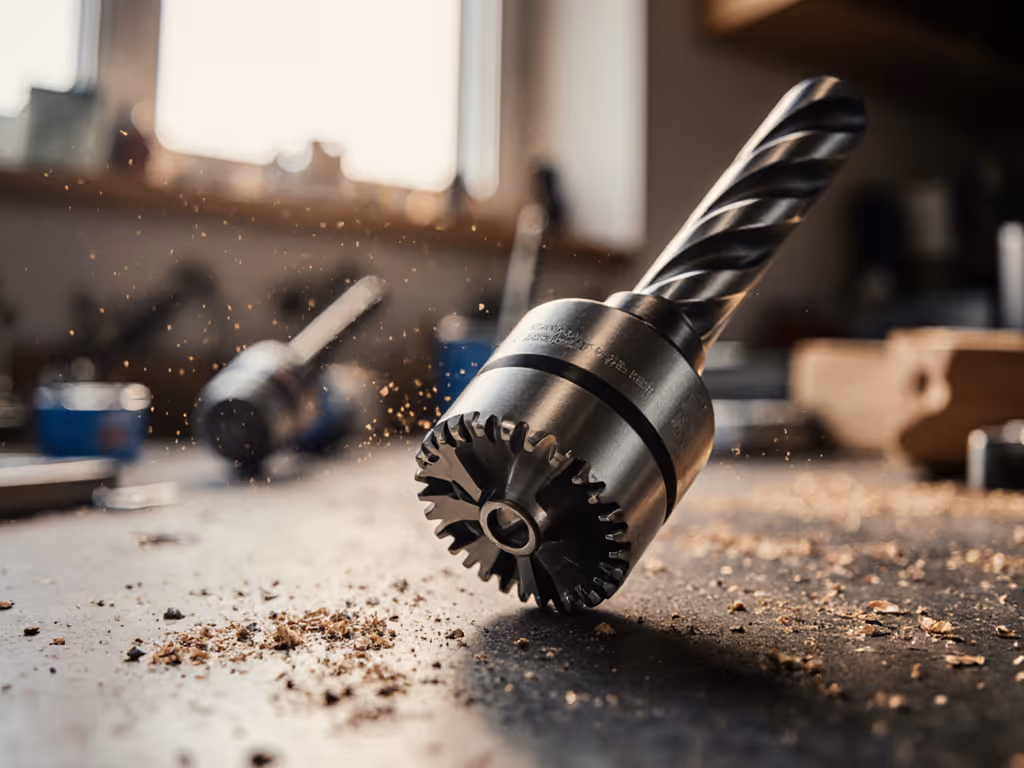
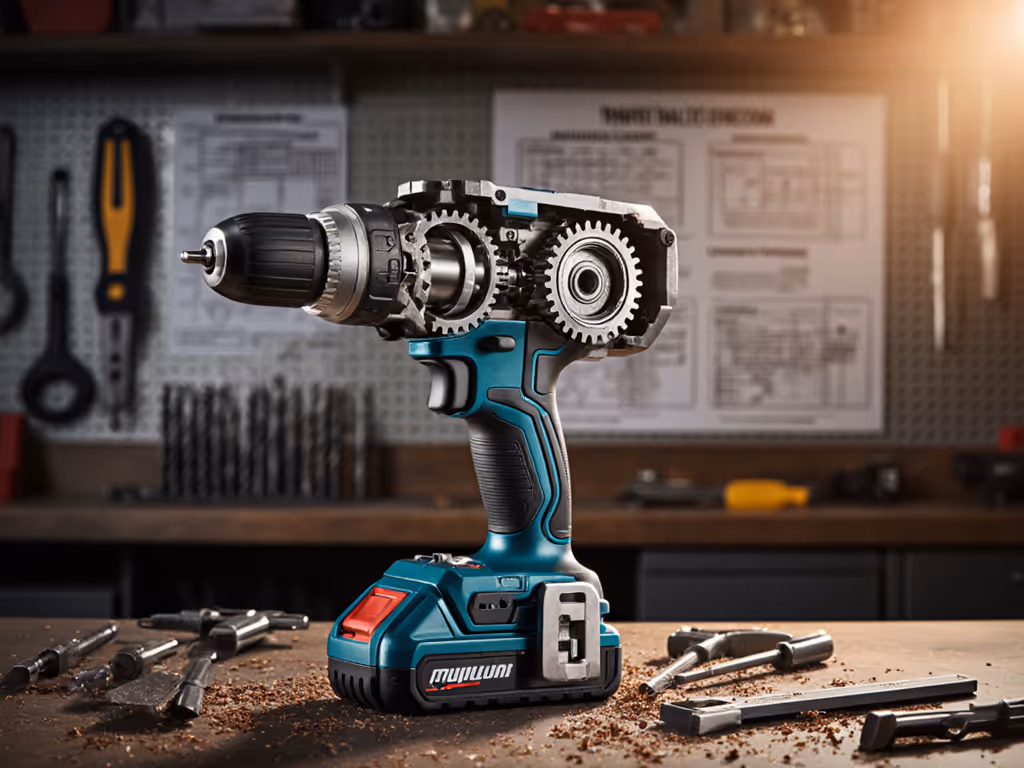
Gear Ratio Explanation: The Power Multiplier
Inside your drill hides a planetary gearbox: a set of interlocking gears that act like a torque "amplifier". Here's how it creates mechanical advantage in drills:
- Motor spins sun gear: The electric motor turns a central "sun" gear
- Planet gears orbit: Smaller gears (planets) rotate around the sun, meshing with a fixed outer ring gear
- Carrier multiplies force: The spinning planets turn a carrier connected to the chuck, but slower than the motor
Confidence comes from repeatable precision, like knowing your drill's low-speed setting multiplies torque 4.8x via a 4.8:1 gear ratio. That 30 N·m motor becomes 144 N·m of clamping force!
This power transmission in drills trades rotation speed for twisting force. A 4:1 gear ratio means the chuck turns one-fourth as fast but with four times the torque. No magic, just brilliant physics. And it explains why hammer drills add a third gear set for even more torque multiplication when chiseling masonry.
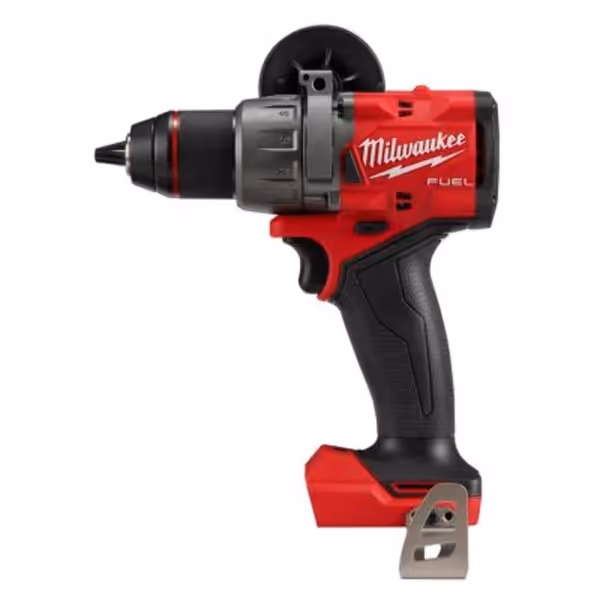
Milwaukee M18 Fuel 1/2 Hammer Drill/Driver
Max durability and runtime; ideal for diverse tasks from wood to concrete.
$154.97
Chuck Type1/2" All-Metal with Carbide Teeth
Chuck Type1/2" All-Metal with Carbide Teeth
Pros
Superior runtime with 5.0Ah batteries for extended projects.
Integrated hammer mode handles brick, block, and concrete drilling.
Robust all-metal chuck ensures maximum bit grip and durability.
Cons
Power output receives mixed reviews for heavy-duty applications.
Customers find this drill to be a high-quality Milwaukee tool and consider it a great value. The power and performance receive mixed feedback - while some find it very powerful, others say it lacks the power needed for heavy-duty tasks and struggles with medium-duty tasks. The build quality also gets mixed reviews, with some finding it extremely well built while others report poor construction.
Customers find this drill to be a high-quality Milwaukee tool and consider it a great value. The power and performance receive mixed feedback - while some find it very powerful, others say it lacks the power needed for heavy-duty tasks and struggles with medium-duty tasks. The build quality also gets mixed reviews, with some finding it extremely well built while others report poor construction.
Why Ecosystems Beat Peak Specs
I watch DIYers overpay for "pro" drills promising 1,000+ N·m, only to strip cabinet screws because they never mastered torque control. Torque transfer physics isn't about raw numbers; it's about matching force to the task. Your first drill should align with beginner jobs: To dial in your settings, learn how to use your clutch in our clutch settings guide.
- Softwood framing/screws: 5-15 N·m (low speed + clutch setting 5-8)
- Hardwood joinery: 15-30 N·m (low speed + clutch 10-15)
- Masonry drilling: Max torque (drill mode + hammer function)
Notice no mention of voltage? For choosing a platform, see our 12V vs 18V power breakdown. A 12V drill with smart gear ratios often outperforms a bulky 20V model for precision work. Last Saturday, a student swapped to a shorter drill bit and mid-speed setting (click), then sank a perfect pilot hole. That mechanical advantage in drills (not higher voltage) built their confidence. Momentum matters; the right first steps stick.
Your Beginner's Torque Checklist
Avoid buyer's remorse with these actionable steps. All tasks assume a standard 20V cordless drill driver (completable in under 30 minutes with household tools): Before you start, review our cordless drill safety guide for PPE and safe technique.
| Task | Gear Setting | Clutch Setting | Bit/Safety Tip |
|---|---|---|---|
| Driving #8 screws into pine | Low speed | 8 | Use 2" square-drive bits; pre-drill holes >1" deep |
| Drilling 1/4" holes in plywood | High speed | Drill mode | Sharp brad-point bit; 500+ RPM |
| Masonry anchor holes (1/2") | Low speed + hammer | Drill mode | Carbide-tipped bit; water drip for cooling |
Critical safety reminders:
- Always wear ANSI-rated eye protection
- Check bits for chips/cracks before use (dull bits increase kickback)
- Brace your wrist against the material (not floating mid-air)
- Lock the chuck fully (loose bits cause runout and tear-out)
Building Confidence Through Physics
Torque efficiency isn't just about gear teeth; it is about sustainable growth. Your first drill should:
- Fit in your hand comfortably (test grip diameter!)
- Have a clear clutch dial with drill-mode icon
- Use batteries that work across future tools (impact driver, saws)
Start simple, lock the ecosystem, and let skills compound.
Overcomplicating your starter kit is the fastest way to kill momentum. That hesitant student I mentioned? She left with a two-battery kit (not three gimmicks). Her confidence compounded because her tool matched her timeline. Confidence comes from repeatable wins, not max specs. Master torque transfer physics for your first 20 jobs, then expand. Your future self will thank you when adding that impact driver or reciprocating saw without buying new batteries.
Your actionable next step: Grab your drill tonight. Practice switching between speed settings while driving screws into scrap wood. Notice how low speed prevents cam-out, even with softer pressure. Tag #TorquePhysics on social, I'll reply with personalized tips!
Related Articles