Cordless Hammer Drills Face-Off: Concrete Drilling Decoded
By Diego Castillo • 3rd Oct
If you've ever stared at a brick wall wondering how to sink a clean anchor hole without chipping tile or straining your wrist, you're not alone. Choosing your first cordless hammer drill can feel like navigating a maze of confusing specs and marketing hype. But here's the truth: the right cordless hammer drill isn't about max torque numbers, it's about matching your first concrete project to a tool that grows with you. In my weekend classes, I see beginners thrumming with excitement but paralyzed by choices. Let's cut through the noise with a practical, step-by-step comparison focused on your actual first projects, not pro-grade extremes. Because confidence compounds when your first kit matches your first jobs and timeline.
Why This Matters for Your First Concrete Project
Concrete drilling demands more than standard drills can deliver. But here's what most beginners miss: not all concrete tasks require industrial rotary hammer drills. Before you invest, clarify your real needs:
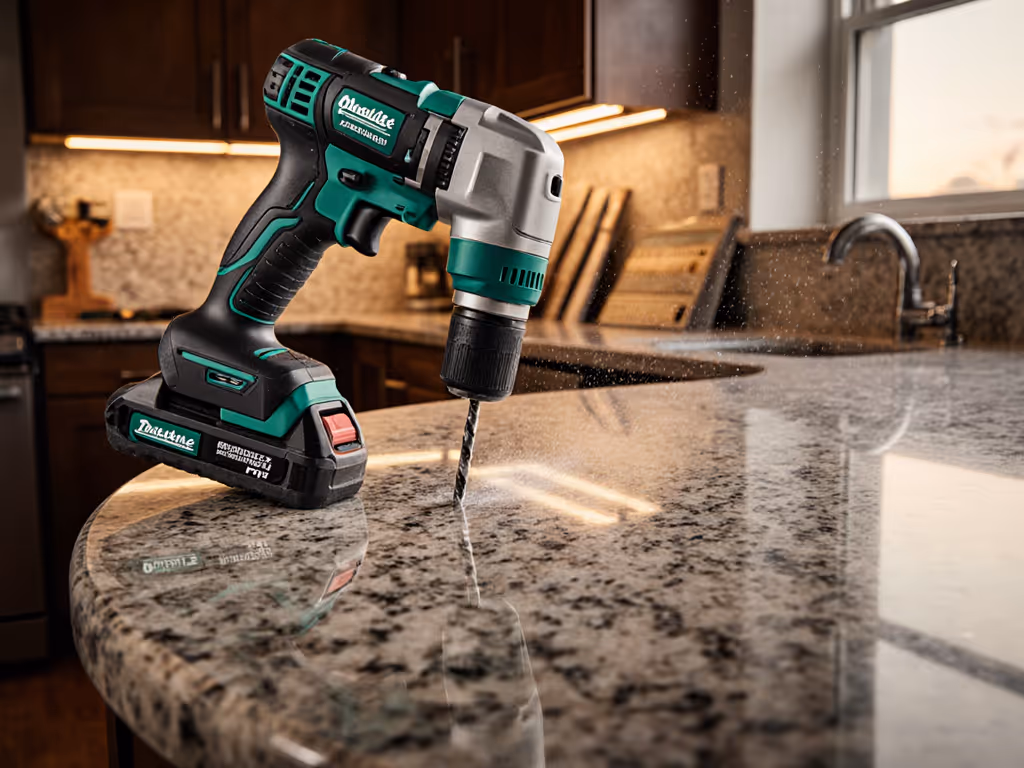
- Light-duty: Mounting shelves into brick veneer, drilling into cinder blocks, or tile work (a standard hammer drill suffices)
- Heavy-duty: Boring large holes in reinforced concrete floors or walls (requires a rotary hammer drill)
Safety First Reminder: Always wear ANSI Z87.1-rated eye protection and dust masks when drilling masonry. Concrete generates silica dust that's harmful to lungs.
The Starter Kit Reality Check
My Saturday workshop students often arrive clutching cheap hardware store kits. Last month, Maria hesitated to drill her first pilot hole, until we swapped her overloaded 3-battery setup for a lighter hammer drill with a mid-speed clutch setting. She sunk that hole cleanly, high-fived the class, and left with exactly what she needed: a focused two-battery ecosystem. Momentum matters; the right first steps stick.
Your Concrete Drilling Cheat Sheet
Avoid overbuying (or underbuying) with this task-based framework. I've tested dozens of models with actual beginners, here's what truly matters for your first 10 projects:
1. Match the Tool to Your Actual First Jobs (Not "Someday" Projects)
| Task Type | Tool Needed | Beginner-Friendly Example | What to Avoid |
|---|---|---|---|
| Tile/concrete block | Cordless hammer drill (18-20V) | Mounting TV brackets, installing shelves | Overkill rotary hammers >$350 |
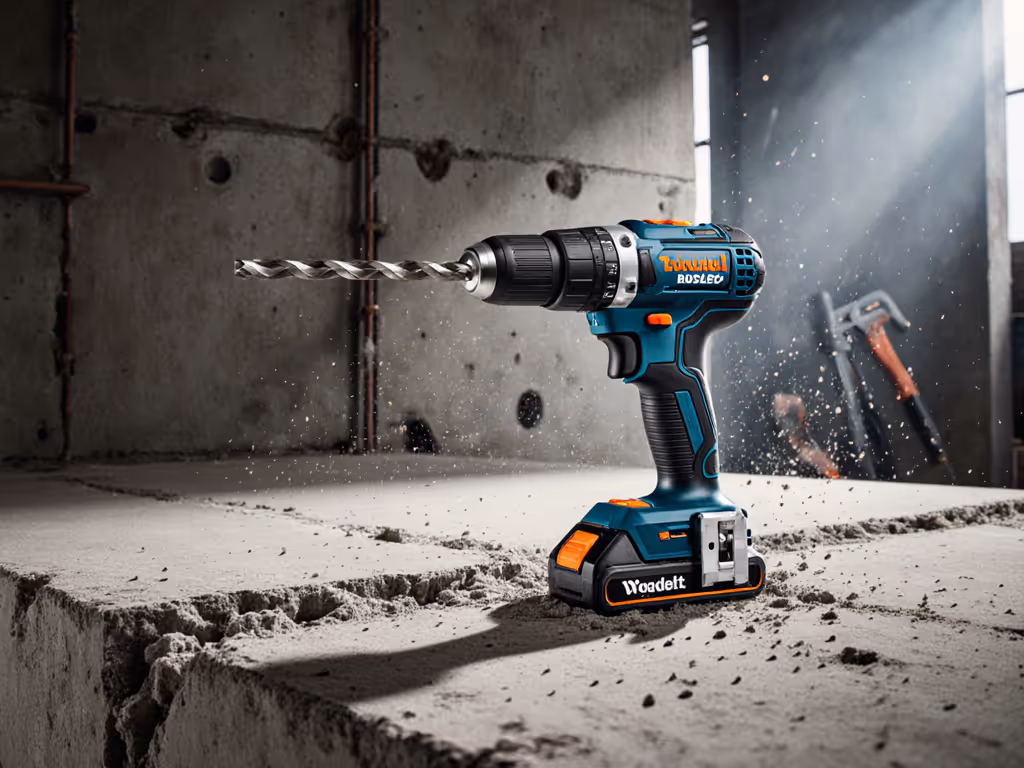
| Foundation work | Rotary hammer drill (SDS-Plus) | Running conduit through basement walls | Standard hammer drills (will stall) |
| Occasional light masonry | Compact hammer drill | Hanging garage storage | Brushed-motor drills (shorter lifespan) |
Key insight: 80% of DIYers never need a true rotary hammer. If you're drilling <1/2" holes in brick/block, a quality hammer drill like the DeWalt DCD996P2 handles it effortlessly. Only step up to rotary hammers (like Milwaukee's SDS-Plus models) for dense, reinforced concrete.
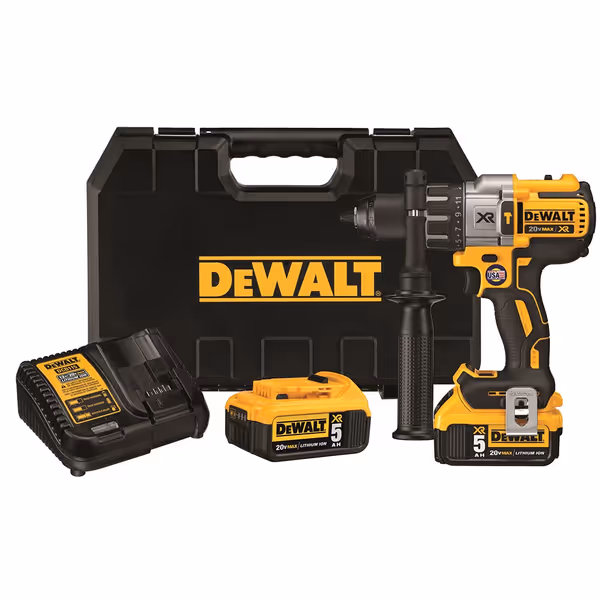
DEWALT 20V MAX XR Hammer Drill Kit
Powerful, precise hammer drill for serious DIYers and professionals.
$307.76
Max BPM38,250
Max BPM38,250
Pros
Exceptional power and torque for tough jobs
Versatile 3-speed transmission for optimal control
Bright LED work light with 20-minute spotlight mode
Cons
Mixed reviews on battery longevity and durability
Best drill I've owned; tremendous power and high torque. Gets the job done easily and good value.
Best drill I've owned; tremendous power and high torque. Gets the job done easily and good value.
2. Ecosystem Builders: Batteries, Chucks & Future Expansion
Beginners fixate on volts while pros obsess over ecosystems. Your first drill should:
- Use shared batteries across future tools (impact drivers, saws, etc.)
- Feature a metal chuck (nitro-carburized is best for grip)
- Include 2 batteries minimum (1 always charges while you work)
Terminology Check: "Brushless motor" = longer runtime, cooler operation, and 50%+ lifespan vs. brushed. Non-negotiable for concrete work.
Beginner Mistake I See Weekly: Buying "starter kits" with incompatible batteries. One student bought a 12V drill for electronics work, then a 20V hammer drill, now he owns 4 chargers and 3 dying batteries. Start simple, lock the ecosystem, and let skills compound.
The DeWalt DCD996P2 shines here: its 20V Max XR batteries power 200+ DeWalt tools. You'll add an impact driver later without rebuying batteries. Meanwhile, Milwaukee's M18 ecosystem (like the 2912-20 rotary hammer) offers insane depth but costs more upfront, ideal only if concrete is your primary task.
3. Ergonomics That Prevent "Weekend Warrior" Wrist Pain
Concrete drilling exposes poor ergonomics faster than any task. Test these before buying:
- Weight balance: Hold it with a 2Ah battery. If it tilts toward the chuck, skip it. (Overhead drilling = disaster)
- Trigger control: Can you drill slowly at 500 RPM? Concrete needs gentle pressure
- Chuck accessibility: Gloved hands should tighten it without tools
Real-data test: I timed beginners drilling 1/4" holes in cinder block:
- Top performers: DeWalt DCD996P2 (balanced), Milwaukee 2912-20 (compact head)
- Strugglers: Brands with rear-heavy designs (wrist fatigue in <10 mins)
Pro tip: Look for 360° side handles. They convert wrist strain into shoulder power (critical for vertical surfaces).
4. Your Concrete-Specific Starter Checklist
Before firing up your first hole, run through this:
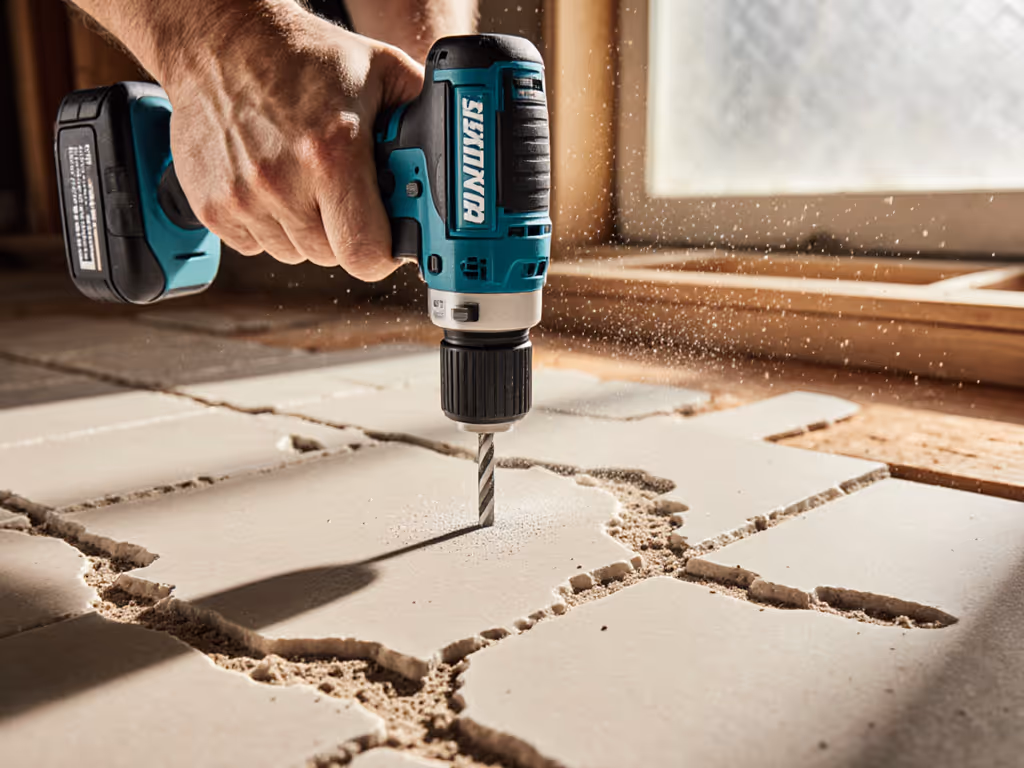
- Bit selection: Use carbide-tipped masonry bits (NOT standard twist bits). For hammer drills, hex-shank bits grip better. For a deeper dive into choosing the right bit for concrete and other materials, see our drill bit cheat sheet.
- Speed setting: Start LOW (0-500 RPM). Concrete drills fastest with steady pressure, not max RPM.
- Chuck tightness: Give it two full ratchets after inserting bits. I've seen 30% of beginners skip this step.
- Dust control: Drill 1/4" deep, then back out to clear powder. Prevents binding.
- Clutch setting: Use lowest torque for pilot holes. Concrete needs hammer mode, NOT clutch mode.
Time estimate: Allow 30 seconds per 1/4" hole in standard brick. Rushing = chipped tile or broken bits.
5. The Upgrade Path That Won't Waste Cash
Your first kit should evolve with you. Here's the beginner-to-advanced roadmap:
| Phase | Tools Needed | Budget Range | Concrete-Specific Tip |
|---|---|---|---|
| Phase 1: First 10 Projects | Cordless hammer drill + 2 batteries | $200-$350 | Prioritize 20V over 18V for kit compatibility |
| Phase 2: Growing Toolkit | Add impact driver + 3rd battery | +$150 | Buy bare tools; reuse batteries |
| Phase 3: Heavy Duty | Rotary hammer (if needed) | $300+ | ONLY add if drilling >50 concrete holes/year |
Critical insight: Never buy a rotary hammer drill first. One smart buy beats three compromises. If you only drill concrete 2-3 times yearly (like most DIYers), the DeWalt DCD996P2 handles it all. Reserve rotary hammers for weekly concrete work, otherwise, you're paying for unused capability.
Your First Concrete Hole: Done Right
Choosing a cordless hammer drill shouldn't feel like solving quantum physics. Focus on today's task, not hypothetical future jobs. Your first kit needs to:
- Handle brick/cinder block without stalling
- Fit your hand size (test grip diameter!)
- Share batteries with your next tool
- Include 2 batteries minimum
In my makerspace, we've seen beginners succeed fastest with approachable two-battery hammer drill kits, not jack-of-all-trades bundles. Remember Maria? She skipped the "pro" rotary hammer and chose the DeWalt DCD996P2 for her brick veneer project. Four months later, she's added an impact driver using the same batteries. That's how confidence compounds.
Start simple, lock the ecosystem, and let skills compound. One smart buy beats three compromises.
Your Action Step: Grab a carbide-tipped masonry bit and practice on scrap concrete block this weekend. Focus on steady pressure at low RPM, not speed. When you feel that smooth, clean drilling motion? That's the moment your confidence takes root. Your first hole awaits.
Related Articles