Specialty Anchor Drilling: Simple Steps That Hold Strong
By Diego Castillo • 30th Oct
If you've ever stared at a wall wondering "Will this hold?" you're not alone. Specialty fastener drilling transforms that uncertainty into confidence, one precise anchor installation drill at a time. As a weekend drilling instructor, I've seen how the right approach turns wobbly shelves and stripped holes into rock-solid successes. Whether you're hanging a gallery wall or mounting a TV, specialty anchor drilling isn't about brute force; it's about smart steps that compound your confidence. Today, I'll walk you through a fail-proof process that avoids common pitfalls and sets you up for repeatable wins. Let's make every hole count. For essential PPE and do-not-skip steps, see our cordless drill safety guide.

DEWALT 20V Max Cordless Drill/Driver Kit
Compact, powerful, and versatile for a wide range of tasks.
$116.75
Max Power (UWO)300
Max Power (UWO)300
Pros
Lightweight, balanced design reduces fatigue
Strong motor handles diverse drilling/fastening
Excellent value for long-term platform investment
Cons
Battery life feedback is inconsistent
Customers find this cordless drill to be a quality tool that works well and is easy to use, particularly appreciating the simplicity of attaching bits. They praise its power, with one customer noting it's strong enough to drill through anything, and its lightweight design that's not too heavy to use for extended periods.
Customers find this cordless drill to be a quality tool that works well and is easy to use, particularly appreciating the simplicity of attaching bits. They praise its power, with one customer noting it's strong enough to drill through anything, and its lightweight design that's not too heavy to use for extended periods.
Why Specialty Anchor Drilling Matters
Anchors fail when we skip fundamentals, not because tools are inadequate. Drywall anchors pull out when holes are oversized, toggle bolts wobble when depth is off, and molly bolts strip when we rush the drill. The good news? 90% of anchor failures stem from three fixable mistakes: improper hole size, inconsistent depth, and ignoring material cues. I tell my Saturday class: "Start simple, lock the ecosystem, and let skills compound." That hesitant beginner who swapped to a shorter bit and aced their first pilot hole? That's the momentum we're building here.
The 3-Minute Pre-Drill Checklist
Before spinning a single bit, run through this:
- Safety first: Wear safety glasses (debris flies upward when drilling overhead). Unplug appliances near work areas.
- Material ID: Drywall? Plaster? Concrete? Test with a stud finder, never assume.
- Bit selection: Match bits to anchor type (more below). Reference our drill bit cheat sheet to pair anchors with the correct bit for drywall, plaster, or masonry.
- Tool prep: Use a drill with adjustable clutch settings ("specialty drill settings" prevent overtightening).
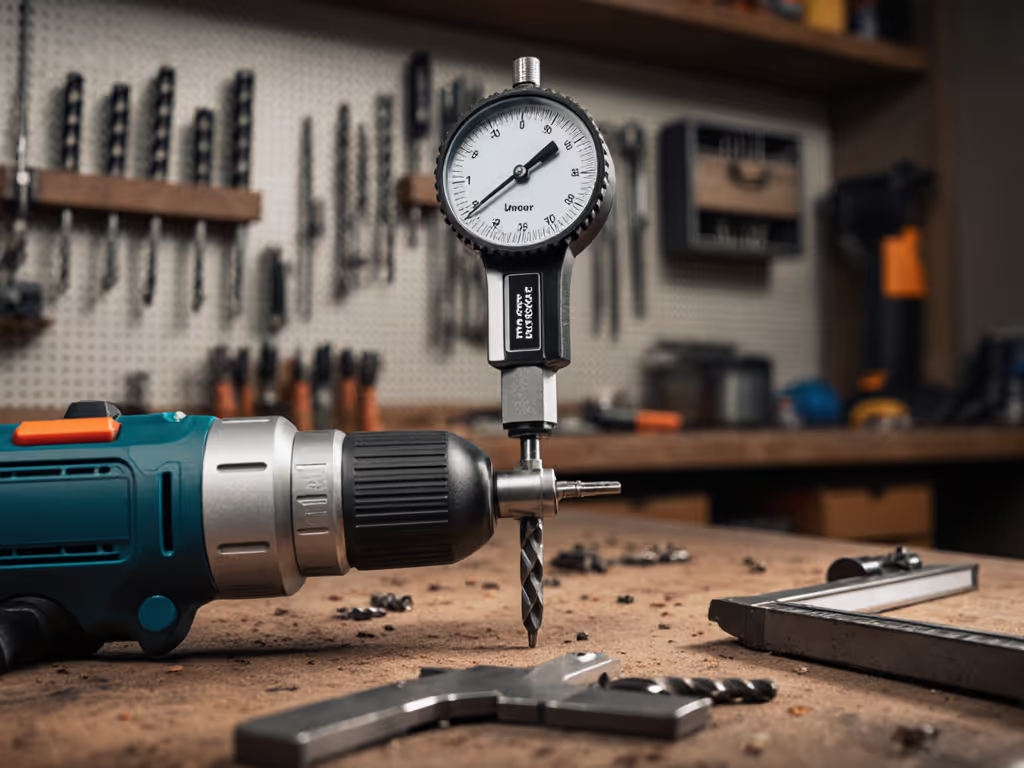
- Depth gauge: Wrap masking tape 1/2" below the bit's tip as a depth marker, duct tape works too!
Time commitment: 3 minutes. Saves 30 minutes of patching later.
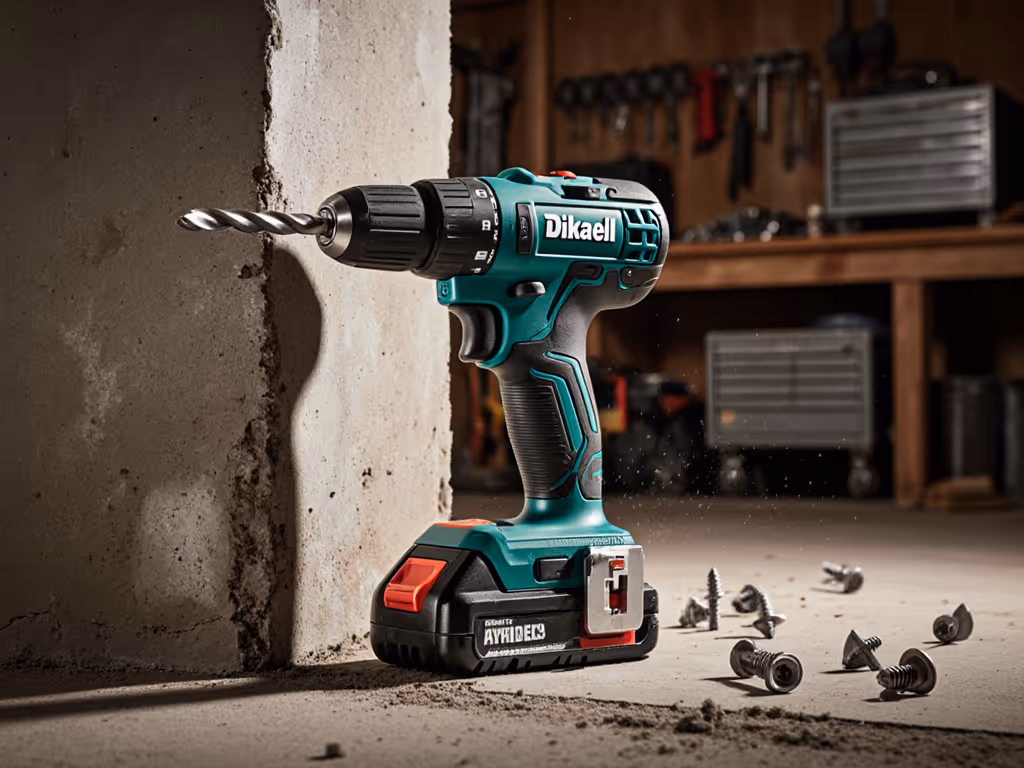
Step-by-Step: Flawless Anchor Installation Drill
Step 1: Choose the Right Bit & Anchor Combo
Practice on scrap; then commit.
Drywall anchor techniques start with precise hole sizing. Using a bit too large causes anchors to spin; too small risks wall damage. Here's your cheat sheet:
| Anchor Type | Material | Bit Size | Why It Works |
|---|---|---|---|
| Plastic Sleeve | Drywall | Exact anchor diameter | Prevents wall crushing |
| Toggle Bolt | Hollow walls | 1/8" larger than bolt | Allows wings to flip |
| Molly Bolt | Plaster/brick | 1/16" smaller | Grips tighter as it expands |
Pro tip: For molly bolt drilling, score the wall first with a nail set to stop the bit from "walking." A compact drill like the DEWALT DCD771C2 (with its 1/2" chuck and clutch control) excels here. It's lighter for overhead work and won't rip through drywall. For small, overhead, or tight-space installs, consider these compact cordless drills that reduce fatigue.
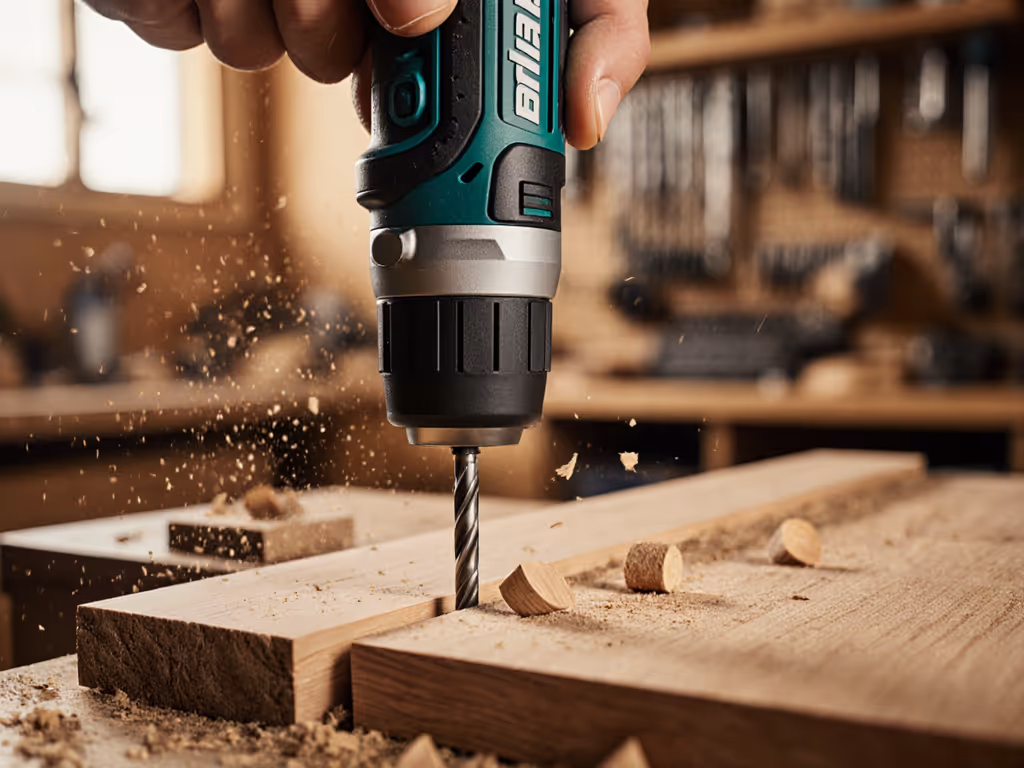
Step 2: Drill with Control, Not Speed
Specialty drill settings are your secret weapon. If clutch numbers and RPM confuse you, use this torque vs RPM guide to dial in precise control. High speed = heat + wandering bits. Here's my classroom-tested method:
- Set drill to low speed (450 RPM) and clutch at #8 (medium torque).
- Press firmly, but don't force it. Let the bit do the work.
- Drill in short bursts (2-3 seconds) to clear dust from the hole.
- Stop when your tape gauge hits the surface. Deeper isn't better!
For concrete or brick, switch to hammer mode, but only if your drill has it (e.g., Milwaukee's carbide-chuck hammer drills). Never use hammer mode on drywall!
Step 3: Anchor Insertion & Testing
- Blow or vacuum debris from the hole (dust = weak grip).
- Tap anchor gently with a hammer until flush.
- Hand-tighten the screw 2-3 turns before using the drill, this prevents anchor rotation.
- Set clutch to #4 for final tightening. Stop when resistance suddenly increases (that's the anchor expanding!).
Critical safety note: If a toggle bolt won't flip, redrill the hole slightly larger (never hammer the bolt). Strain injuries are no joke.
Avoiding the "Anchors Aweigh" Disaster
Most DIYers panic when anchors feel loose mid-installation. Here's how to fix it without starting over:
- Spinning anchor? Back out the screw, insert wadded toothpicks or matchsticks into the hole, then reinsert the anchor.
- Screw won't grip? Switch to a toggle bolt, they handle uneven holes better than molly bolts.
- Cracked drywall? Patch with spackle, let dry overnight, then restart 1 inch away from the damaged spot.
Remember: Drywall anchor techniques prioritize precision over power. I've seen students skip the depth gauge and drill through studs, always measure twice. Your first kit doesn't need 1,500 RPM; it needs predictable control for jobs you'll actually do.
Your Action Plan: Build Confidence in 7 Days
- Today: Practice on a scrap wood/drywall sandwich (free at hardware stores). Drill 5 holes at varying depths. Time: 20 minutes.
- Day 3: Install a single drywall anchor using the 3-step checklist. Aim for silence, no grinding sounds!
- Day 7: Hang a 10-lb picture frame. If it holds for 48 hours, you've mastered the foundation.
Practice on scrap; then commit. Every pro started where you are now.
Anchor drilling isn't magic, it is methodical. When your first kit matches your first jobs (like a compact drill for light anchors), you avoid buyer's remorse and build real momentum. Leave the gimmicks behind; focus on repeatable wins. Grab a $2 practice board, your drill, and take that first step. Your walls (and future projects) will thank you.
Diego Castillo teaches weekend drilling basics at community makerspaces across the Pacific Northwest. He's biased toward two-battery ecosystems that grow with you, not gear bloat. For long-term planning, our battery platform comparison explains ecosystem compatibility across brands. When not teaching, he's testing bit longevity in his garage workshop.
Related Articles