Drill Chuck Types: Your Precision Guide
By Diego Castillo • 5th Nov
Choosing the right drill chuck types is the silent foundation of every pro-level result you'll get from your cordless power drill, and it's where most beginners accidentally sabotage their confidence before the first hole. I've seen too many students in my Saturday workshops abandon projects because a wobbly chuck ruined their pilot holes or stripped bits. But here's the good news: matching your chuck to your actual tasks transforms uncertainty into repeatable wins. Confidence compounds when your first kit matches your first jobs and timeline. Forget chasing peak specs; let's build your precision pathway.
Why Your Chuck Choice Makes or Breaks Projects
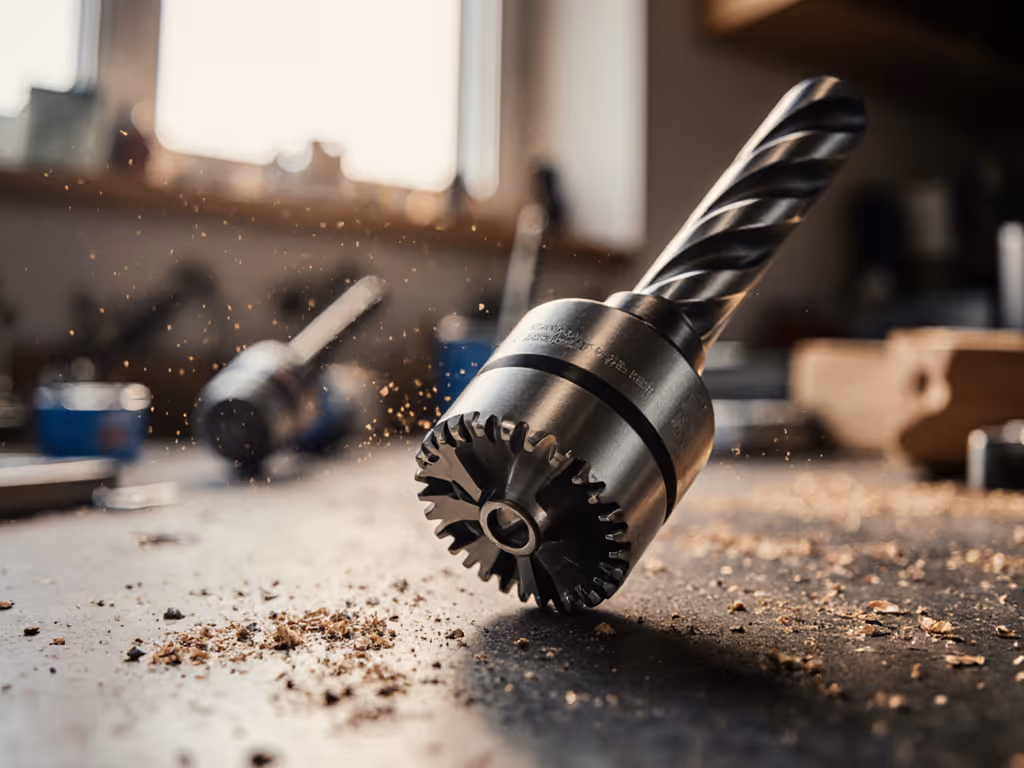
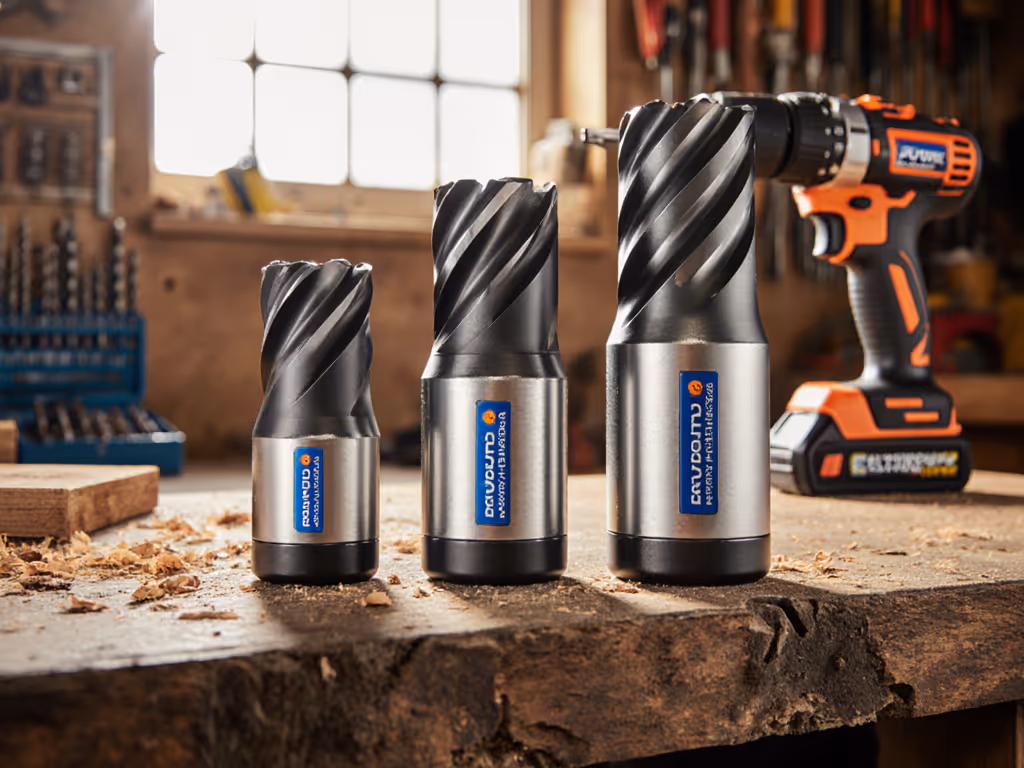
Before we dive into types, let's define the core job of any drill chuck: it's the mechanical handshake between your tool's motor and the bit. A poorly matched chuck introduces runout (tiny wobble that magnifies with bit length), slippage under load, or frustrating bit changes. For DIYers tackling shelves, deck screws, or cabinet hardware, this isn't just technical, it's the difference between clean, confident holes and stripping $15 Forstner bits. For material-specific guidance on wood, metal, and masonry bits, see our drill bit cheat sheet. Remember, bit retention performance directly impacts your project's finish and your long-term trust in the tool.
Step 1: Pinpoint Your Drill Chuck Types (Keyed vs Keyless)
All chucks solve the same problem: gripping bits securely, but their operation creates vastly different user experiences. Let's cut through the marketing noise:
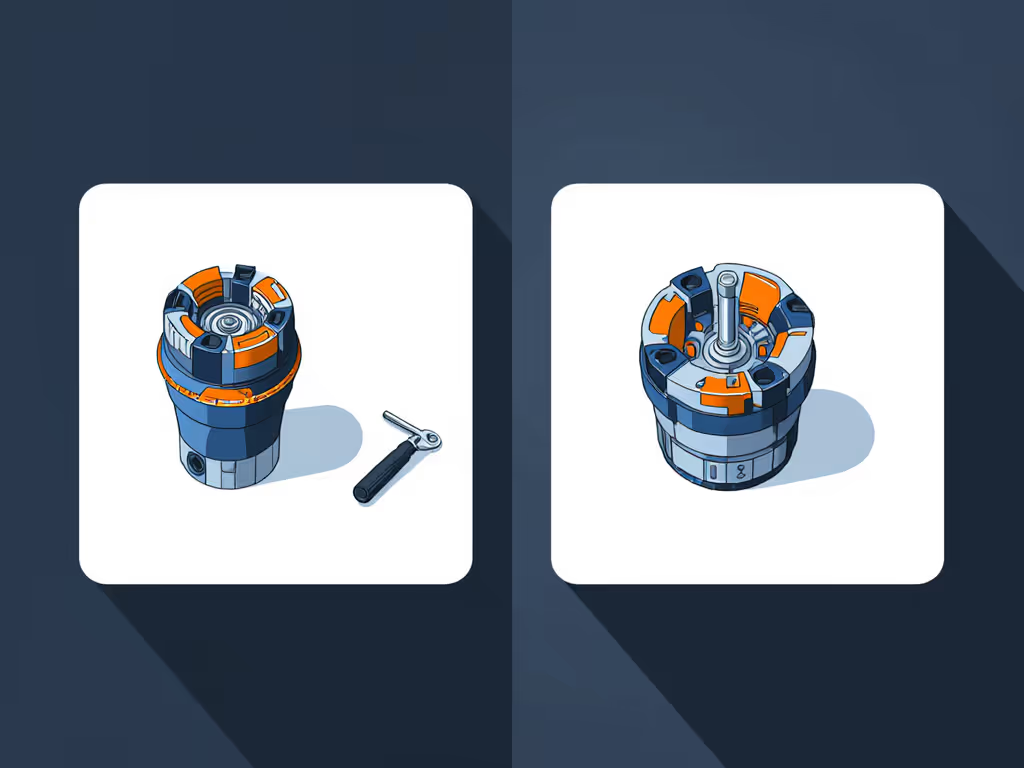
Keyed Chucks: The Controlled Grip
- How they work: Require a separate chuck key (often stored on the drill) to tighten or loosen the jaws
- Best for: Heavy-duty tasks where slippage risks damage (e.g., drilling 1/2" holes in hardwood, masonry with hammer drills)
- Precision note: Less runout (typically 0.003"-0.005") due to uniform jaw pressure (critical for metalworking or fine joinery)
- Reality check: That key will get lost mid-project. Estimate +30 seconds per bit change during multi-task jobs
Keyless Chucks: Speed Without Sacrifice
- How they work: Twist the collar by hand (counterclockwise to loosen, clockwise to tighten)
- Best for: 90% of DIY scenarios (driving screws, drilling wood/metal under 3/8")
- Pro insight: Modern self-tightening designs increase grip as torque rises, so no slippage during stubborn deck screws
- Hex shank compatibility: Always verify! Some budget keyless chucks struggle with 1/4" hex shanks common in driver bits
Keyless chuck vs keyed? For beginners, keyless wins 9 times out of 10. Save keyed for contractor-grade hammer drills or metal lathes. One smart buy beats three compromises when you match the chuck to your actual workflow.
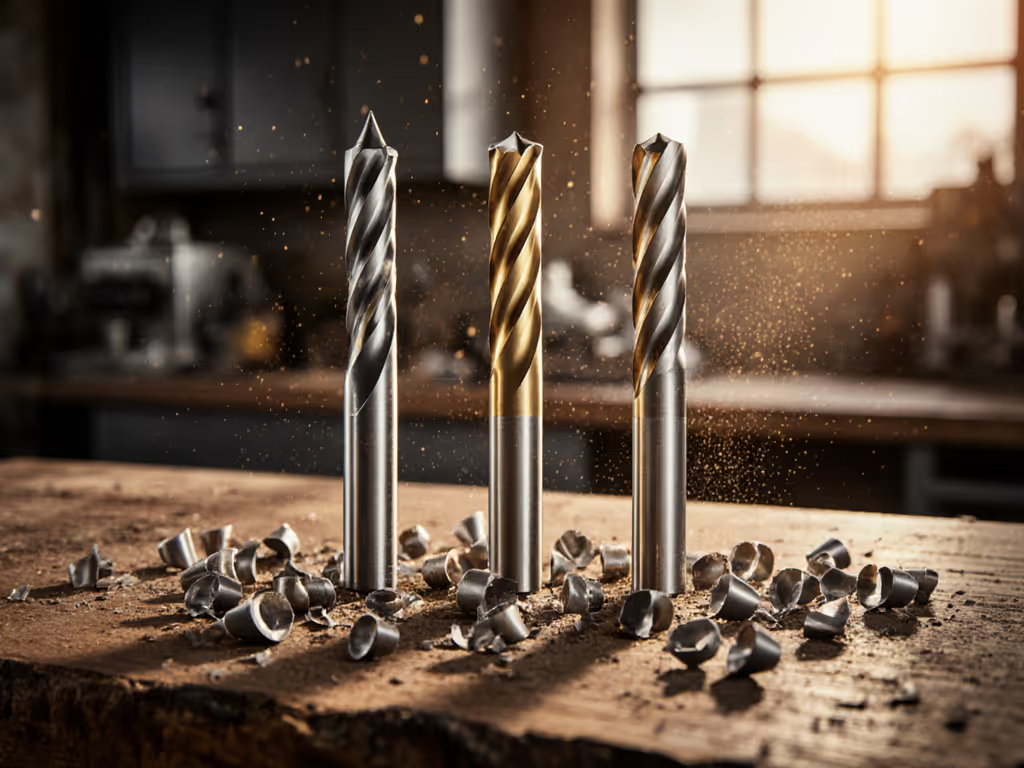
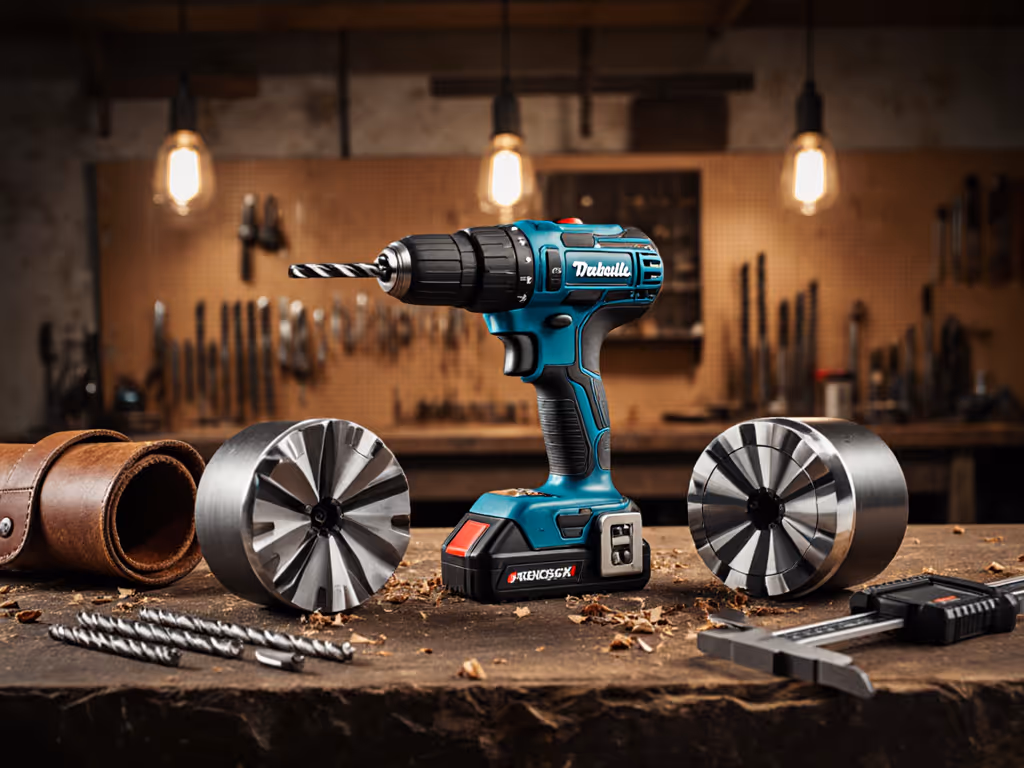
Step 2: Match Chuck Size to Your Real-World Tasks
Forget "max capacity" claims. Your daily projects dictate the right size. Chuck sizes refer to the largest bit shank diameter it accepts (e.g., 1/2" chuck = holds bits up to 0.5" shank). To understand how chuck size interacts with torque, RPM, and clutch settings, read our torque vs RPM guide. Here's the DIY reality check:
| Chuck Size | Best For | Avoid If | DIY Sweet Spot |
|---|---|---|---|
| 1/4" | Precision tasks (cabinetry hardware) | Drilling >1/4" holes or heavy driving | Compact 12V drills |
| 3/8" | 80% of home projects | Using 1/2" spade bits or masonry | Most beginners |
| 1/2" | Decking, framing, large holes | Working in tight spaces | Prosumer kits |
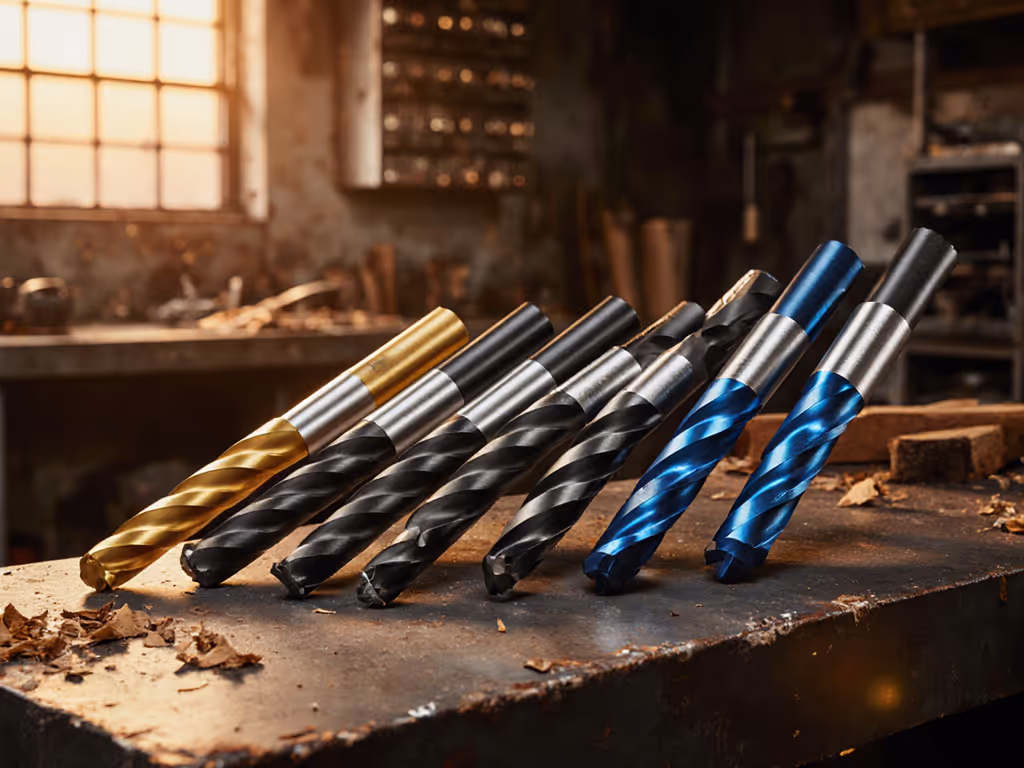
Critical nuance: A 3/8" chuck can hold 1/4" hex shank bits (standard for driver bits), but a 1/4" chuck cannot accept round-shank drill bits larger than 1/4". Always cross-check your bit shank type against chuck capacity.
Step 3: Evaluate Precision for Your Skill Level
Chuck precision analysis isn't just for machinists. Runout (measured in thousandths of an inch) causes wandering holes and shortened bit life, especially with long Forstner bits. For PPE and safe technique, follow our cordless drill safety guide. Here's how to test it:
- The visual check: Insert a 3" drill bit, tighten the chuck, and spin at 500 RPM. Visible wobble = >0.015" runout (unacceptable for clean holes)
- The paper test: Hold paper against the spinning bit. If it shreds unevenly, chuck alignment is poor
- Pro tip: Quality chucks maintain <0.004" runout. Makita's 1/2" chucks (like those on the XFD131 kit) target 0.002" for metal drilling accuracy
Safety reminder: Always clamp workpieces when drilling >1/4" holes. A slipping chuck combined with unsecured material causes dangerous kickback, especially with high-torque brushless drills.
Step 4: Build Your Chuck-Confident Ecosystem
Recall my Saturday class story: the hesitant beginner who nailed her first straight pilot hole? She succeeded by starting simple (3/8" keyless chuck), locking her ecosystem (sticking to one battery platform), and letting skills compound. That's your blueprint:
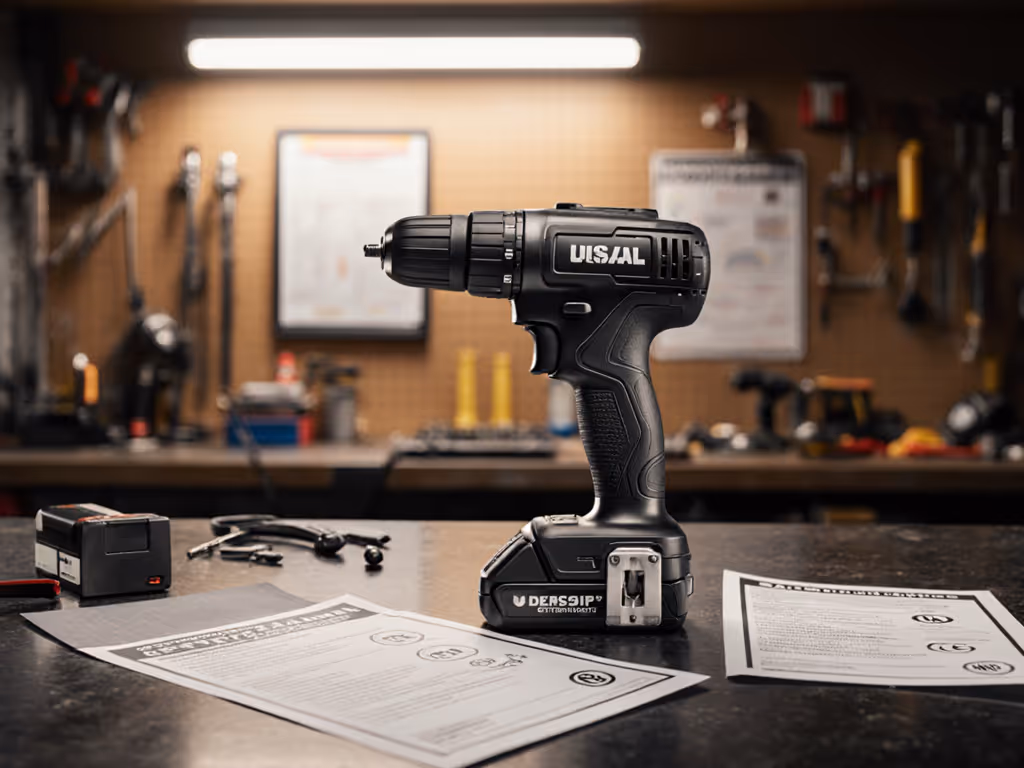
- First 90 days: Stick to 3/8" keyless chucks on 18V compact drills (e.g., Makita XFD131). Handles 90% of home projects without bulk.
- When to upgrade: Only if you repeatedly hit 3/8" chuck limits (e.g., installing 2" lag bolts). Never buy bigger "just in case."
- Ecosystem rule: Your first drill's chuck size should align with your planned expansion bits. Example: Starting with a 1/2" chuck unlocks future hole saws without re-buying tools.
Your confidence checklist (5 minutes to implement):
- Inventory current bits: 90% should fit a 3/8" chuck
- Test bit retention: Insert a 3" drill bit, apply side pressure. No slippage?
- Verify hex compatibility if using driver bits
- Clean chuck jaws monthly with a wire brush (prevents rust-induced slippage)
One Step That Changes Everything
Your very next project is the perfect test: grab a scrap 2x4 and attempt a 2" deep hole with a 1/4" drill bit. If the bit walks or burns, it's not your fault, it's a chuck mismatch. Swap to a shorter bit (reduces leverage on the chuck) and set your drill to mid-speed with the clutch at #8. You'll feel the difference immediately. Momentum matters; the right first steps stick.
Building your toolkit isn't about specs, it's about eliminating friction between your skills and the outcome. Start simple, lock the ecosystem, and let skills compound. Grab your drill, test your chuck's grip with a household screwdriver bit, and tag me with your #FirstChuckWin. I'll share fixes if you hit snags!
Related Articles