Professional Cordless vs Precision Hobby Drills: Miniature Guide
By Diego Castillo • 8th Jan
Introduction: Finding Your First Perfect Drill Match
When you're standing at the hardware store counter staring at rows of professional cordless drill options next to delicate precision hobby drill systems, decision paralysis hits hard. I've seen it countless times in my Saturday classes, with folks biting their lip, comparing specs that don't translate to actual use. Let's cut through the noise: your first drill shouldn't match someone else's dream project. It should match your first three projects and your timeline for learning. That's how confidence compounds. Whether you're drilling pilot holes for a floating shelf or crafting tiny joints for a model ship, the right tool transforms uncertainty into repeatable wins. In this guide, you'll discover exactly which drill type serves your immediate needs, while leaving room for growth, without wasting money on capabilities you won't use for years.
What Exactly Are We Comparing?
Before we dive into specs, let's define our terms clearly (no marketing jargon, just real-world functionality). If spec sheets confuse you, start with our concise torque vs RPM guide to decode what matters.
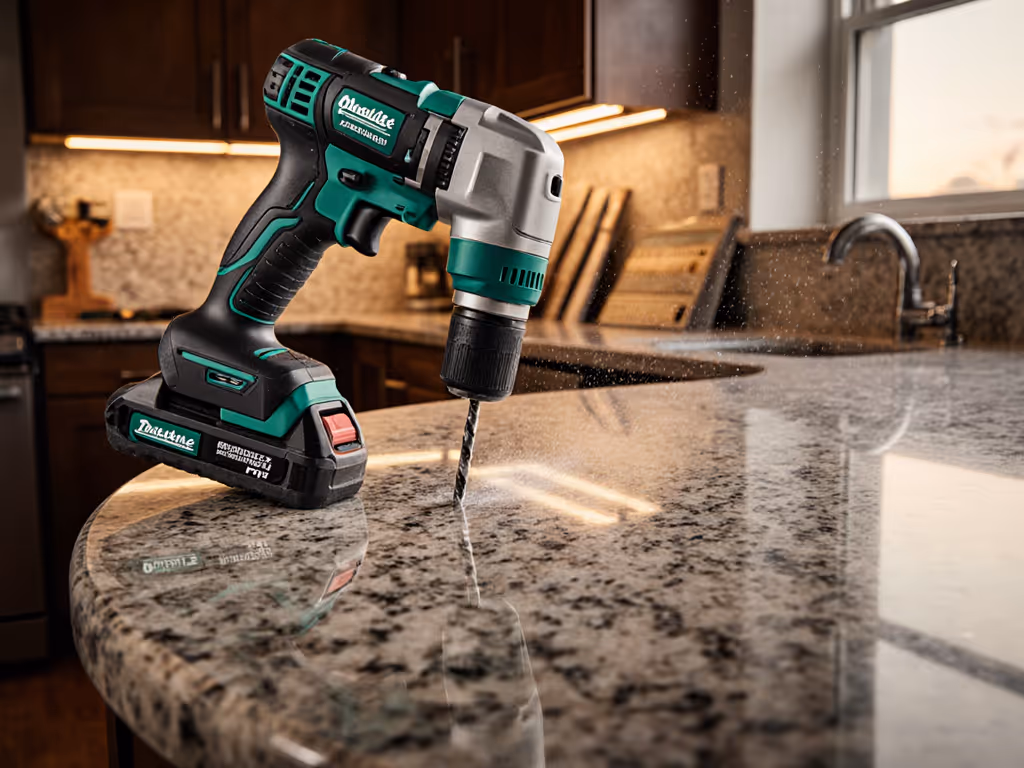
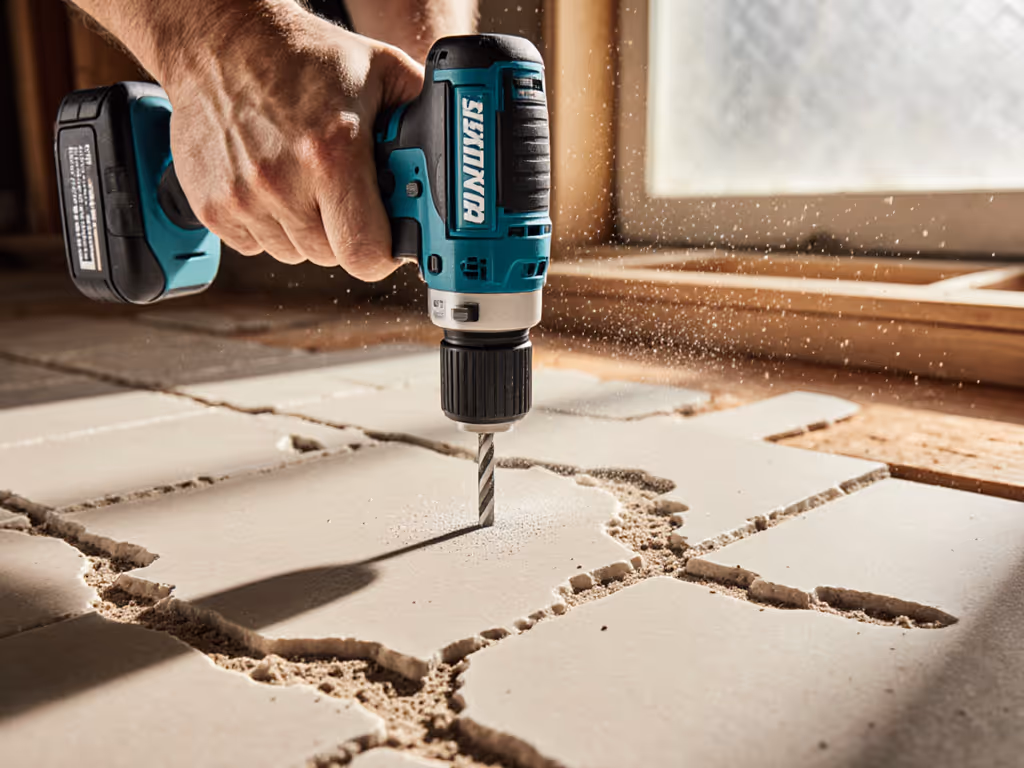
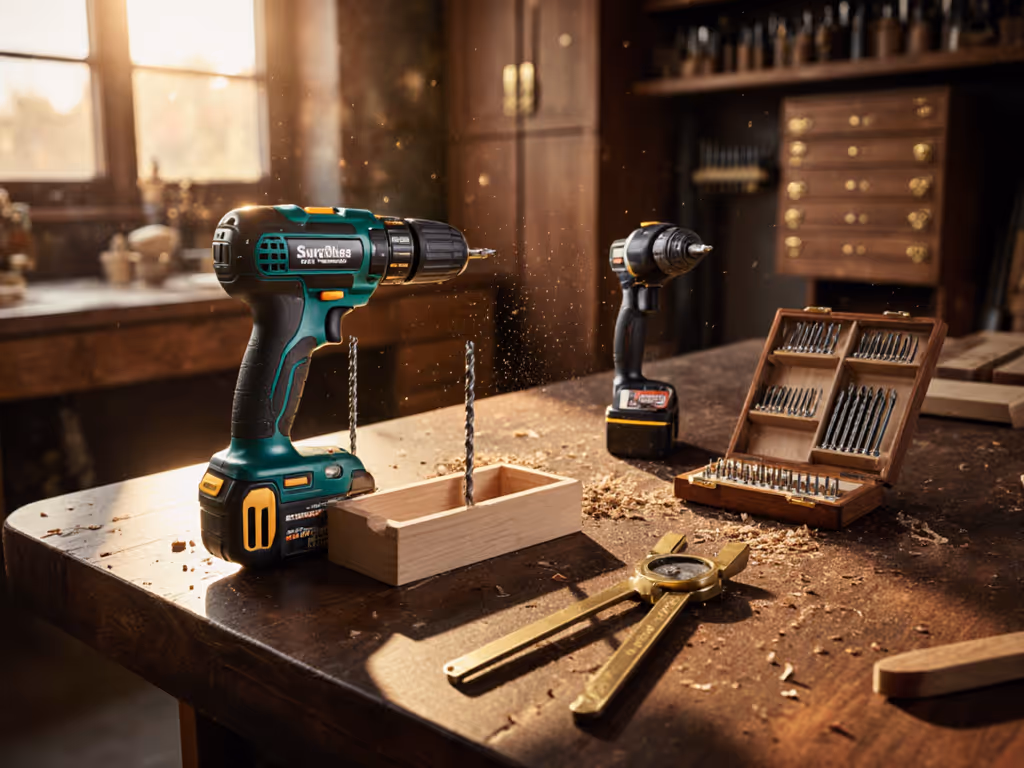
Professional Cordless Drill: Your Everyday Powerhouse
A professional cordless drill is a battery-powered tool designed for general construction and DIY tasks. Most fall in the 12V-20V range and handle:
- Drilling holes up to 1/2" in wood
- Driving #8-#14 screws
- Light hammer drilling in masonry
Key features:
- Variable speed trigger (finger-controlled rotation speed)
- 2-speed gearbox (low for torque, high for speed)
- Clutch with torque settings (prevents over-tightening)
- Keyless chuck (1/2" or 3/8")
- LED work light
These are the workhorses you'll use 80% of the time for home projects. They're robust enough for weekend warriors but scaled for one-person operation.
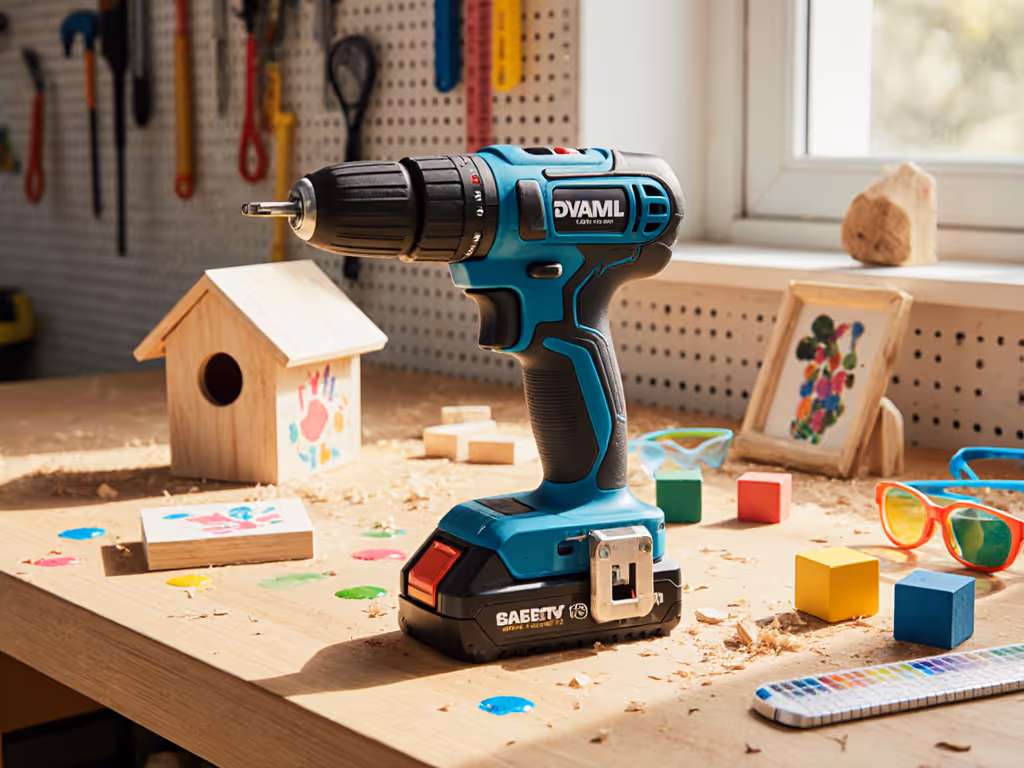
Precision Hobby Drill: The Detail Specialist
A precision hobby drill is a specialized tool for fine work, often called a 'pin vise' or 'micro drill.' Typically 3V-9V, they excel at:
- Small-scale drilling in materials under 1/4" thick
- Crafting model details with bits under 1/16"
- Delicate material drilling in plastics, balsa, or thin metals
Key features:
- Ultra-fine speed control (often dial-based)
- Micro chuck (holds bits 0.5mm-3mm)
- Fixed speed or extremely low RPM
- Ultra-precise control for hand-guided work
These aren't for wall framing. They're model building tools that make or break miniature projects where a single slip ruins hours of work.
Practice on scrap; then commit. This mantra applies doubly when choosing between these tool types.
Why Most Beginners Pick the Wrong First Drill
After teaching 200+ first-time drill users, I've noticed three costly mismatches:
1. The "Pro Gear for Tiny Jobs" Trap
Many overestimate their needs, buying a 20V professional cordless drill for assembling IKEA furniture or mounting picture frames. Result? Heavy tools causing wrist fatigue during precise work, with clutch settings too coarse for small screws. That high-torque beast is like using a sledgehammer to hang a photo. It works, but creates unnecessary risk of stripping or splitting.
2. The "Hobby Tool for House Projects" Error
Conversely, some buy a $30 precision hobby drill thinking it'll handle deck screws. These tools lack the chuck grip strength and torque for standard fasteners. I've seen frustrated beginners try to drive #8 screws with a pin vise, burning out motors and dulling bits within minutes.
3. The Ecosystem Overlook
The most expensive mistake? Buying a standalone drill without considering future needs. Compare long-term battery platform compatibility in our ecosystems comparison before you commit. A well-planned two-battery ecosystem (like a professional cordless drill plus impact driver sharing batteries) prevents tool bloat. As one student told me after swapping her overloaded single-battery kit: "I thought I needed three tools; I just needed one smarter system."
Your Decision Flowchart: Which Drill Type Do You Really Need?
Use this 5-minute checklist to avoid buyer's remorse. Answer yes/no to these questions:
Primarily Using a Professional Cordless Drill If:
- You'll drill holes larger than 1/8" regularly
- Projects involve wood thicker than 3/4"
- You need to drive screws #6 or larger
- You'll work overhead or on ladders (weight matters!)
- You plan to add other power tools later (saws, sanders)
✅ Ideal scenarios: Hanging cabinets, deck building, furniture assembly, electrical rough-ins
Primarily Using a Precision Hobby Drill If:
- You work with materials under 1/4" thick
- Your smallest holes are under 3/32"
- You need steadier hand control than trigger control offers
- Projects involve plastics, balsa, or printed circuit boards
- You value microscopic adjustments over raw power
✅ Ideal scenarios: Model building, jewelry making, electronics repair, miniature dioramas
Hybrid Path: The Rare Middle Ground
Some makers need both. Look for compact 12V professional cordless drill systems that accept micro chucks (like DeWalt's FlexVolt sub-compact line). These bridge the gap when:
- You occasionally need precision but primarily do household projects
- Your budget allows only one ecosystem initially
- You prioritize ecosystem growth over ultimate precision
Safety First: Drills Demand Respect, Not Fear
Both tool types require specific safety practices. Neglect these, and even the most expensive drill becomes dangerous. Review the essential PPE and steps in our cordless drill safety guide before your first project.
Professional Cordless Drill Safety Essentials
- Always remove the battery when changing bits
- Use safety glasses with side shields (flying wood chips sting!)
- Clamp workpieces; never hold with your free hand
- Start with clutch on lowest setting (No. 2 for #8 screws)
- Choose twist bits with 118° point angle for general wood
Precision Hobby Drill Safety Essentials
- Work under bright task lighting (magnifying lamps help)
- Use a non-slip mat beneath your project
- Select high-speed steel (HSS) bits for plastics to prevent melting
- Keep fingers clear of the rotating chuck. Micro-drills spin faster than you think!
- Store bits in labeled containers to avoid mix-ups
Remember that student who finally sunk a straight pilot hole after switching to a shorter bit? Her breakthrough wasn't just technique; it was matching her tool to her task. Shorter bits reduce deflection in precision work. Practice on scrap; then commit.
Building Your First Confident Setup
For the DIY Homeowner (Professional Cordless Path)
Your 30-Day Starter Plan
- Buy a 12V-18V combo kit with two 2.0Ah batteries ($120-$180)
- Spend Week 1 drilling guide holes in scrap 2x4s (mark depth with tape)
- Week 2: Practice driving #8 x 2" screws into scrap wood with clutch at Setting 6
- Week 3: Add a basic drill bit set (sizes #6-#10)
- Week 4: Complete one actual project (like a simple shelf)
This scaffolds skill growth while building muscle memory. The two-battery system ensures you never have to wait for charging during learning sessions.
For the Hobbyist (Precision Path)
Your First 20 Projects Framework
- Start with a basic rotary tool kit ($40-$70) that includes:
- Variable speed controller
- 10-piece micro-bit set
- Flexible shaft attachment
- Practice drilling 1/16" holes in 1/8" acrylic sheets (30 minutes)
- Master the "two-hand hold": One hand stabilizes base, other guides bit
- Use 5,000-8,000 RPM for plastics to prevent melting
- Always deburr holes with a small file afterward
I've watched dozens of hesitant beginners light up when they finally achieve straight small-scale drilling on their model airplane parts. That moment builds the confidence to tackle harder projects.
When to Consider Both Systems
Most makers eventually need both tool types, but not simultaneously. Here's how to time your expansion:
- Master your primary drill for 3-6 months first
- When you encounter projects your main drill can't handle:
- For homeowners: Model building as a stress-relief hobby
- For hobbyists: Building display cases for finished models
- Choose a secondary system that shares charging tech (e.g., if your professional cordless drill uses USB-C charging, find a hobby system with the same)
This avoids ecosystem fragmentation. One student expanded from her Ryobi homeowner kit to a compatible micro-drill system, keeping just one charger type.
Actionable Next Step: Your First 24-Hour Plan
Today:
- List your next three real projects (not "someday" dreams)
- Note the smallest hole and largest screw in each
Tomorrow:
- Visit a hardware store with your project list
- Test grip comfort with empty tool (hold for 60 seconds)
- Ask to see the clutch adjustment in action (and review our clutch settings guide).
- Check if chuck holds a 1/16" bit straight (critical for precision work)
Within 24 hours:
- Buy the simplest tool that covers 100% of your current projects
- Add only one compatible accessory (e.g., bit set or micro chuck)
- Book time for your first scrap practice session
Start simple, lock the ecosystem, and let skills compound. Your first drill isn't forever: it's the foundation for everything that follows. The right beginning makes the next steps feel like progress, not a redo.
Practice on scrap; then commit. Every master was once a beginner who made the right first move.
Related Articles