Curved Countertop Drilling: Best Drills Compared
By Mei Tanaka • 31st Mar
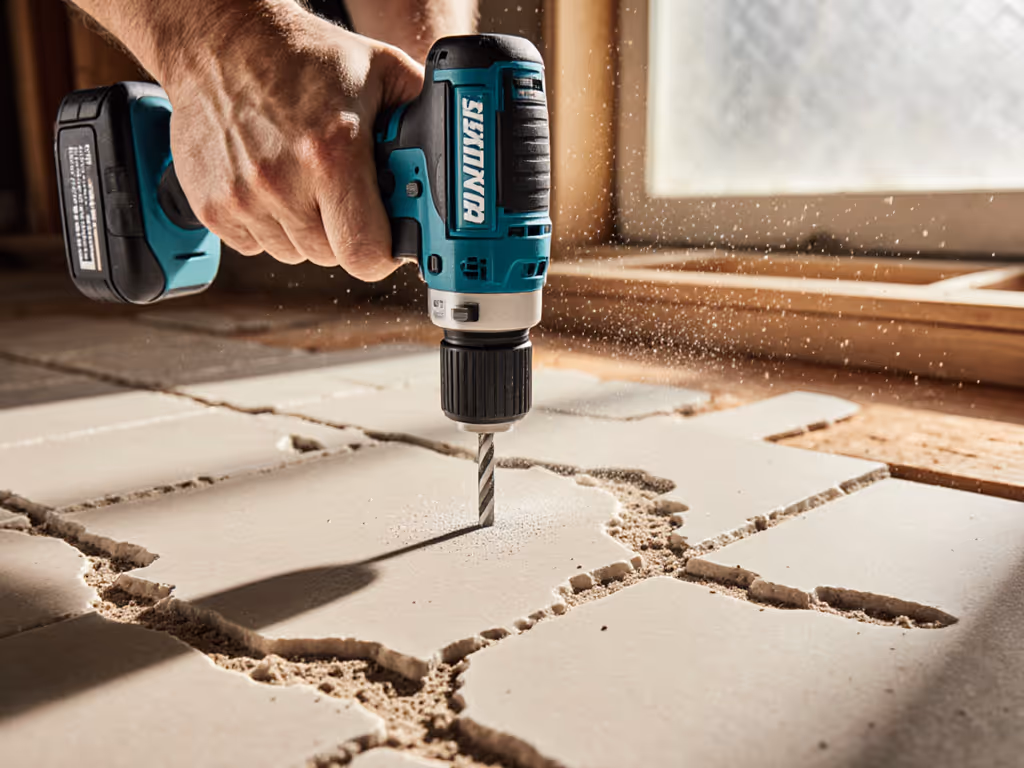
Curved countertop drilling demands more than raw power. It requires balance, predictable trigger response, and a feel for how the drill behaves as you navigate a contoured surface. When your chuck is traveling along a radius rather than a flat plane, the stakes shift. A drill that feels solid on straight work may stutter, drift, or burn out your forearm before noon on curved geometry.
This guide walks you through the principles that separate drills suited for non-standard surface installation from those that struggle, and shows you how to assess which tool will keep your cuts clean and your wrist intact.
Understanding the Curved Countertop Drilling Challenge
Curved surfaces demand different tool behavior than flat drilling. When you're working perpendicular to a flat countertop, gravity and surface geometry work with you. On a curve (whether a radius edge, contoured bar face, or custom-profile buildup) your drill must stay true without tilting, and the bit must track consistently as the surface angle changes across your cutting path.
The risks are real. If weight and balance are your main concern, see our lightest heavy-duty drills for models that reduce fatigue without sacrificing torque. Poor balance shifts your grip pressure mid-task, fatigue sets in faster, and that fatigue translates directly into drift. I learned this prototyping a handle by taping coins along a drill until a novice stopped tilting screws under load. Balance, not grip strength, fixed their wandering bit. Since then, I time tasks and track forearm burn, because smoother control finishes faster and saves your wrist over long weekends. That principle holds double on curves.
Three factors govern success:
- Balance point relative to chuck and handle: where the drill feels neutral in your palm without muscular compensation
- Trigger travel and break: how precisely you can modulate power as you approach the curve
- Vibration and chatter under variable load: whether the drill stays stable as the bit angles change
Step 1: Assess Your Tool's Center of Gravity Before You Start
Before you pick up a drill, hold it horizontally at chest level, parallel to the floor. Let your hand find its neutral point (the grip position where the drill doesn't want to tip nose-heavy or tail-heavy). Mark that mentally.
Now, reposition your hand so the drill is aimed at a 45-degree angle, as if drilling into a sloped surface. Does the weight shift dramatically? Does your thumb naturally migrate toward the side handle, or does the barrel stay balanced under your wrist?
This is contoured surface precision in its simplest form. A drill with a forward center of gravity (battery and chuck biased toward the tip) will tire your forearm on angled work because you're constantly micro-correcting drift. A drill with rear weight (handle-biased) gives you stability on curves because the balance point aligns with your wrist's natural resistance axis.
Measure this practically: Position the drill horizontally, pivot it around your grip point, and count how many seconds it takes to drift nose-down without active hand pressure. Five seconds or more suggests manageable balance. Under three seconds on a curved job means fatigue will spike within the first hour.
Step 2: Evaluate Trigger Modulation Over the Full Range
Radius drilling techniques depend on your ability to feather power as the bit entry angle changes. A trigger with a soft, progressive break lets you creep into the curve at 30% power, then ramp smoothly to full speed as the bit settles. A trigger with a hard detent or dead zone forces you to make coarse jumps in power, either too slow (stalling the bit and binding the drill) or too fast (blowout on entry).
Test this on scrap at full battery charge:
- Depress the trigger slowly and listen. Count the milliseconds between trigger depression and motor spin-up. Delays of more than 200 ms create a lag that makes curve work unpredictable.
- Identify the break point: the trigger position where power jumps noticeably. Mark it with your finger position. Ideally, the jump should be smooth across the first 70% of trigger travel, with most power available between 50-100% depression.
- Test sustained partial pressure. Hold the trigger at 50% for 10 seconds while lightly tightening a chuck key (no key inserted). Does motor speed drift upward due to thermal or load-sensing lag? Drift means your curve speed will vary as thermal load builds, making consistent penetration harder.
Balanced weight and clean triggers beat headline torque every day. A drill with a sloppy trigger but high peak torque will exhaust you on a curved job because you're fighting inconsistency, not load. To understand how speed and torque interact, read our torque vs RPM guide before comparing specs.
Step 3: Assess Chuck Runout and Bit Security on Off-Axis Load
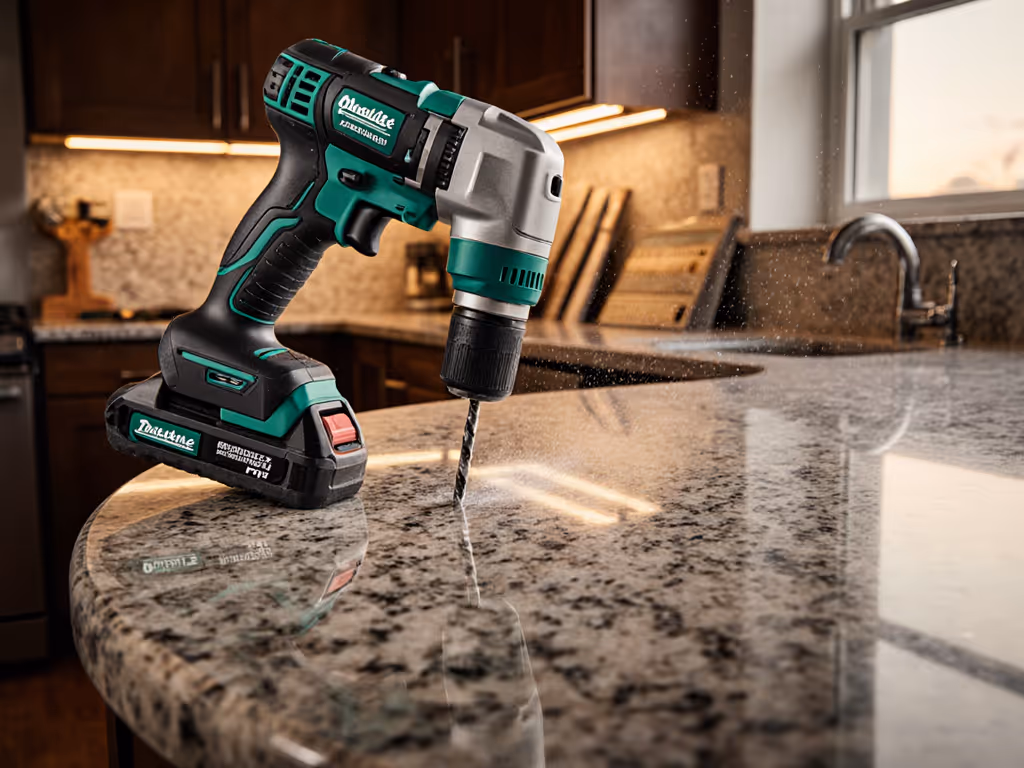
Custom countertop installation often involves drilling pilot holes, sink openings, or faucet mounts at compound angles. Your chuck must maintain runout tolerance as the load vector shifts off-axis. For measuring and fixing alignment, follow our chuck runout guide to improve precision.
Test chuck quality:
- Insert a 3/8-inch bit fully into the chuck. Tighten by hand only (no key).
- Grip the chuck firmly and attempt to wiggle the bit side-to-side with moderate force. Any visible movement beyond 0.5 mm signals runout that will wander on curves. Curves amplify this because gravity and surface contact push the bit sideways as you work.
- Spin the chuck by hand and watch the bit tip. Does it trace a perfect circle, or does it wobble? A tight chuck traces a hairline; a loose chuck shows a visible orbit of 1-2 mm. On curves, that orbit becomes visible flaws in your hole.
- Load test under power: Insert a long bit (1/4-inch, 6 inches), power on at 25% speed, and listen. A clear, stable whine means the chuck is concentric. A wavering pitch or stuttering sound indicates runout or chuck bearing play, both deal-breakers for precision on curves.
Step 4: Measure Vibration Signature and Control Feel
Countertop edge profiling and radius work expose vibration that flat drilling masks. High-frequency vibration (a buzz or shrill tone) causes bit chatter and fatigue. Learn how to diagnose and minimize it with our drill vibration control techniques. Low-frequency vibration (a rhythmic throb) often signals chuck or bearing play.
Do this on scrap:
- Drill at half speed into waste wood, letting the bit run against light contact for 30 seconds. Place your other hand lightly on the drill body and sense the vibration pattern.
- Compare two candidate drills side by side using identical bits and wood. The drill that feels smoother and steadier under your palm is the one that will hold tolerances better on curves. This isn't marketing, it's mechanical reality. Smoother equals less wrist strain equals fewer micro-corrections equals cleaner holes.
- Listen for pitch changes as you increase load. A stable, deepening tone as you press harder is normal. A sudden spike or loss of tone mid-drill signals the motor struggling to maintain speed. On curves, that hesitation will show as slow-feed, wandering bits.
Step 5: Test Your Grip and Forearm Fatigue Under Sustained Angled Load
Hold your candidate drill in one hand, arm extended forward at shoulder height, tilted 45 degrees downward (simulating drilling into a curved countertop edge). Maintain light pressure and idle the motor at 50% for 60 seconds. Switch hands and repeat.
After the test:
- Can you feel your forearm? Fatigue signals poor balance and grip fit.
- Did your wrist drift sideways? That's loss of control due to off-axis center of gravity.
- Did your thumb cramp? Grip diameter or side-handle design mismatch.
Hands vary; tools should adapt. A drill that feels locked and stable during this test, one where your forearm stays relaxed and your wrist stays neutral, is the one that will keep you efficient on a multi-hour curved countertop job. That comfort isn't luxury; it's precision, because fatigue is the enemy of accuracy.
Step 6: Compare Battery Depth and Weight Distribution Impact
Battery choice directly affects balance. A compact 2.0Ah battery and a larger 5.0Ah battery may fit the same tool, but they shift the center of gravity differently.
Test both:
- Install the smaller battery and repeat the horizontal balance test from Step 1. Note the balance point.
- Swap to the larger battery and repeat. Measure the shift in balance point (distance from chuck toward handle). A shift of more than 1 inch is significant on curves; your hand has to work harder to compensate.
- For curved work, choose the battery option that keeps balance closest to your natural grip point, even if peak runtime or power is slightly lower. On a 4-hour curved countertop job, the difference between a balanced tool and an unbalanced one is the difference between controlled, clean work and rushed, fatigued mistakes.
Step 7: Simulate Curved Drilling on Scrap at Full Depth
Before committing to your countertop, practice on curved scrap (wood or test quartz). Mark a gentle curve (radius 12 inches or larger) and drill a series of pilot holes along the curve at varying angles.
Observe:
- Bit tracking: Does the bit follow your intended hole, or does it drift as angle changes?
- Feedback feel: Can you sense when the bit is tracking true vs. when it's binding?
- Forearm state: How tired is your arm after 15 holes? Extrapolate to 50 holes (your actual countertop count).
- Hole quality: Are entry and exit clean, or are there splintered edges suggesting the drill is chattering?
The drill that delivers clean holes with minimal forearm fatigue and consistent feedback is the one suited to your curved countertop work.
Key Takeaways for Curved Countertop Drilling
When comparing drills for non-standard surface installation:
- Balance point matters more than peak torque on curves. A lighter, balanced drill beats a heavier, powerful one because control and endurance outweigh raw force.
- Trigger modulation is non-negotiable. Progressive, smooth trigger response prevents blowouts and binding as angle changes.
- Chuck runout and vibration directly impact hole quality on curves. Test both before buying.
- Forearm fatigue during angled work is a diagnostic of poor balance and grip fit. Eliminate candidates that tire your wrist.
- Battery choice affects balance. Smaller batteries may be better for curve work even if they cut runtime.
Balanced weight and clean triggers beat headline torque every day.
What To Explore Next
Once you've selected a drill suited to curved countertop work, test it on actual countertop scrap before final installation. Practice on quartz or laminate edge profiles and note bit life, hole quality, and your fatigue level at 25, 50, and 100 holes. If you’re working in granite, marble, or quartz, compare options in our stone countertop drilling guide to avoid cracks. This data will tell you whether your choice is right for multi-phase projects.
Consider also how your drill fits into a broader kit: does it pair with a compatible impact driver for fastening? Can you use the same batteries across other tools you own or plan to buy? Ecosystem fit reduces charging overhead and ensures your controls stay consistent across jobs.
Finally, time your actual countertop work and track forearm soreness over the next few days. Real-world feedback, your wrist's feedback, is the most reliable test. If control is effortless and fatigue is minimal, you've made the right call. If you're sore or chasing drift, your drill choice is costing you precision and comfort, and it's time to try a different balance profile.
Related Articles